Locate rooms with scope boxes
Revit number the rooms automatically, and Revit warns us if there’s duplicated numbers. And users can always renumber them manually in order to have the room number order by location/level . If you have a project with over 100 rooms per level, I suggest you to dissociate the room numbering systems with the location identifier. To BIM better, we can associate a “location” parameter to the room.
The parameter can be done manually by group selecting the rooms in the same zone. It takes time to actualize this parameter and you know there’s always mistakes when hand typing. The easiest way is by programming, set your location parameter criteria and the computer do the rest for you. In the following, it shows the methods with Dynamo.
For exemple, we have incorporated a parameter named “ARQ_Encuadre”. The parameter shows in which 1:100 plans locates this room.
This parameter was signed manually by overlaying the scope box and room boundaries. And as project involves, the changes are not taken in consideration with this parameter.
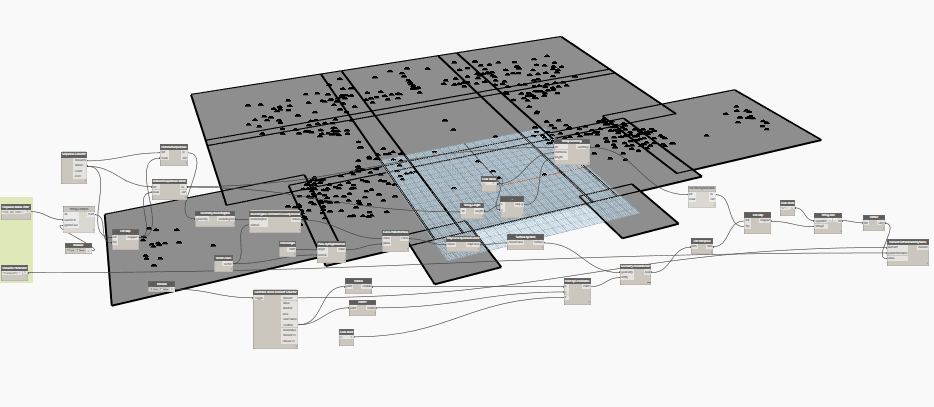
A Dynamo tool is developed for sign this parameter automatically. Please firstly check the following conditions:
- Dynamo 0.8 + (1.0 version recommended)
- Scope boxes for 1:100 plans in the model named as : T2X_A0_100_E05_bis
- Length unit should be in meter
- Add the room parameter “ARQ_Encuadre”
To download the .dyn file, please click here.
Please follow the following steps:
- Open an architecture model, change the length unit to “meter” if the setup is in millimeter.
- Make sure all the Scopebox for location identifier are in the model following a strict naming convention
- Launch the Dynamo – Encuadre.dyn
- Configuration of two parameters in dynamo inputs: Scopebox Name Filter / Encuadre Parameter
- Run Dynamo definition
- Check the room schedule
- Change the project length back into initial setting